Custom Cockpit and Bridge Displays - Pt.1
<<<Informational/Tutorial
>>>
Today I was working on figuring out the needed custom graphics foe the various stations in the Warhawk, so that I could set up some crew reaction shots to go with the action scenes I have already. I figured this might be some good behind the scenes details to share, as they might prove helpful, educational, or inspirational for others. The methods that follow are not necessarily the best methods, or only methods, it is just how I am doing things as I stumble along - there may be better ways out there. While I will be showing customizing control and cockpit displays, the concepts and practices are not much different for customizing outfit and character logos. For those interested who would could use a guide and are just muddling through like me, feel free to follow along.
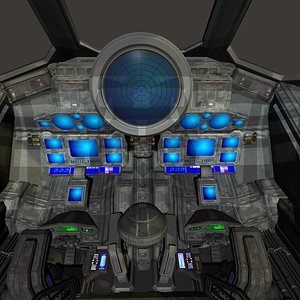
STEP 1- Basic Design
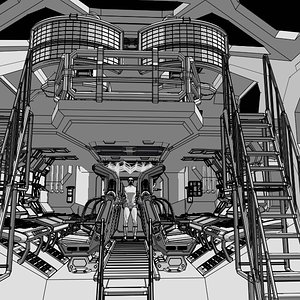
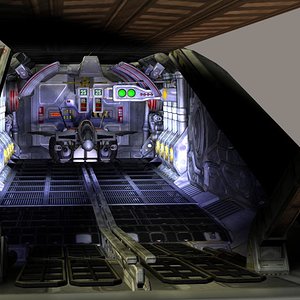
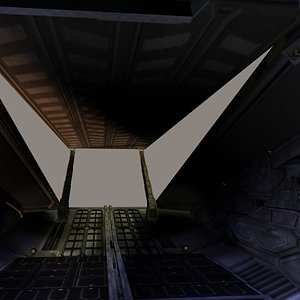
The first step is to either choose the 3D assets to use as the cockpit or control center, or kitbash it from various props and assets. Make sure to scale it to your figures (in flight suits and costumes) especially if you intend to do interior crew shots. Once I am happy with the layouts, I render out a few goos, clean shots with all the displays visible. With the DAVO sets the screens are defaulted blue - so they stand out already. It could be possible here to set up these screens to be Green-screens, rendered in differing passes for compositing, and configure all of your displays in your VFX software through compositing - which I will probably do for some shots - but I also want in-render screens.
 Step 2 - References
Now that I know what the layout of the cockpit looks like, I need to get some idea of what is going to go on each screen. I could fake it, and just throw some graphics together, but I really want a more believable layout based on actual craft. So here I fire up my internet, go to my chosen search engine that let's me specify Images as results, and I do a few searches. Before I say what search terms I used, I am going to urge anyone to turn on Safe Search in their search engine because... well, internet... I searched first for Cockpit, then for Flight Deck, then for Aircraft Controls. Each time got slightly different results.

I proceeded to grab numerous results from each search and save them for reference and for the later photobash steps. Just look through what comes up and pick what appeals to you. I had some idea of what I was looking for - which can make things easier when you see what you want, but can make it more difficult finding just the right images overall. I also went looking for specific military craft layouts, as the Warhawk is a Bomber. Though I really like that retro look of all the dials and switches on the B-17 and B-1b, it does not really fit with the style of controls in the DAVO sets. I also did specific searches for Radar, and grabbed a few variations on radar screens for reference.
Step 3 - Layout
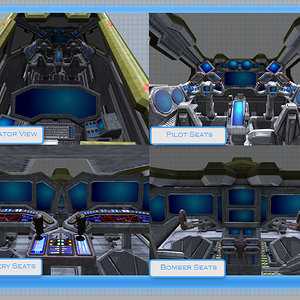
Once I had some references I was happy with, I loaded up my Paint Program (any good graphics program with support for multiple formats and layers will work). I loaded in a view of just one of the sections of the Warhawk crew stations (in this example I am showing the Pilot/Navigator Stations). With this loaded in, on new layers, I began to label what I thought each screen should be or have on it. It is possible to skip this step - but since I sometimes get distracted for long periods of time, it is a good step for posterity. Font type and color are really a matter of choice - just as long as it is readable.
Step 4 - Photobashing*
Now that I know what I want displayed on each screen, roughly, it is time to make a mock-up using some rough
Photobashing. If you are unfamiliar with
Photobashing, or are not real experienced with it, no worries, I have not only linked to a few tutorials, but we will be keeping it very loose and rough. The goal here is not to have a finished cockpit sample or backdrop, but to lay down the concepts of placement quick and dirty so we know what textures we need to create for what panels (Yes, the final panels and textures will be hand created by me from scratch...not
photobashed). In fact, what I will be doing is closer to a collage of various instruments pasted over the areas of my cockpit render where I want them, and less of a proper
Photobash - though certainly it is possible to go all out and do a full on final quality
photobash which would be great for a single, static image...but I need a 3D textured environment with custom textures.
Now I start looking over those reference images I grabbed earlier, looking for elements in the controls that look close to what I want for the different areas I labeled. I start with the Radar, that's easy and mirrored on Pilot and Co-pilot side, same for threat tracker. The Horizon Guide and compass are also easy. I will select the needed pieces with either square or circular selections and copy them into new layers in the labeled cockpit. I will move, scale, and skew them as nescessary to "fit" them on the appropriate displays. My intent on the final is for some of these to still look like digital displays and some look like analog panels - but I am not as worried about that here - I am not even worried about perfect fit or cleaning them up. Here I am just trying to set up a visual guide to aide me when I start painting the textures themselves. I cut and paste appropriate bits from numerous reference photos until I am mostly happy. I placed the photbashed images for Main Bus A and B as insets above the controls so I could see the layout later - and here is what I have so far:

It looks as if there may be things missing, but I know what goes in the blanks in my mind's eye, so this is enough for me to move foreward. I will save this as a layered document for future use, and I will also create a flattened JPG version for loading as reference when I begin selecting and painting the actual textures. That will be the next steps, which will be part 2 of this Info-post, likely in a few days.
* Notes on Photobashing -
- Some artists and creators dislike the practice and consider it a phorm of derivitive art that steals from others. Choosing to upload and share works created this way as original is, in some circles, a topic of discussion far more heated than of A.I. Though, in a nutshell, it can be compared to what A.I. image generators do in a sense.
- A.I. Generated images could be very useful in Photobashing concept art.
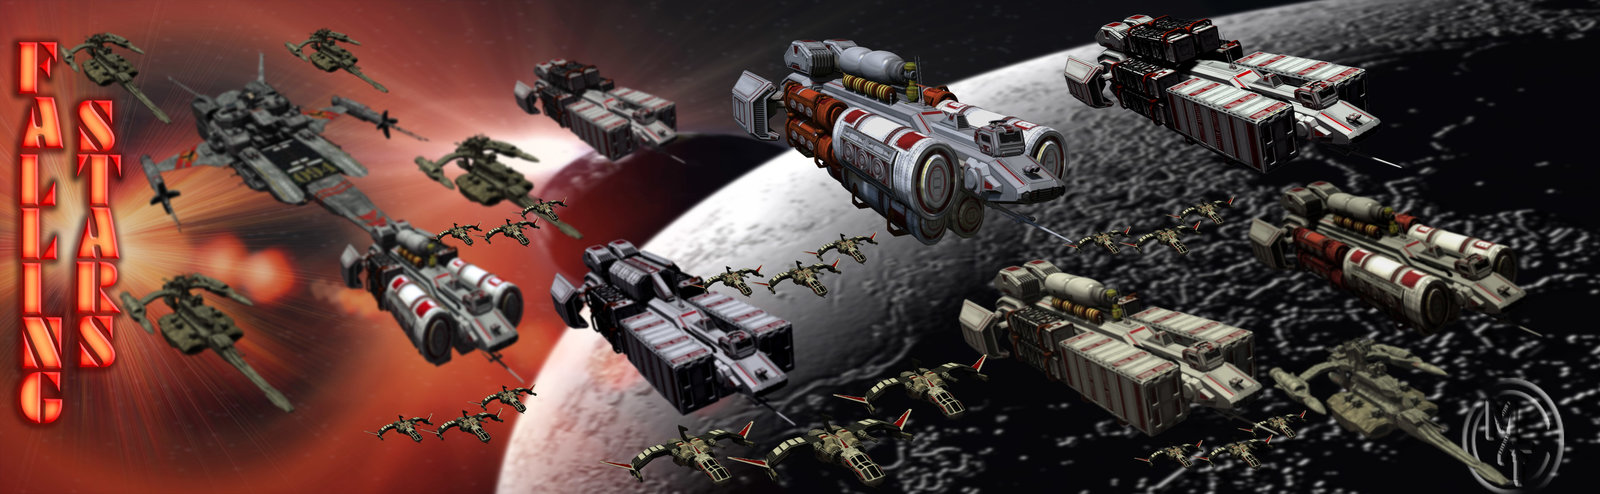
- The technique of Photobashing could very readily be applied to rendered 3D assets and images of your own creations to take them in new and different directions not possible through 3D alone. In essence, this was what I did for the Falling Stars Promo Poster "We Precious Few" and the Poster for "The misadventures of Jamie and Tommy".